Minwax in Wood Stains, Coatings & Finishes


About Minwax in Wood Stains, Coatings & Finishes - Walmart.com
Minwax helps you compare wood stain, clear coats, and prep products for projects that need the right color, sheen, and finish schedule. If you're refinishing furniture or sealing cabinets, you can sort choices by base type, application area, and wood species.
On this page, you can compare Minwax wood stain, polyurethane, polycrylic, and wood conditioner with practical guidance. You can use these differences to plan prep, color, and topcoat steps with fewer surprises on the surface.
Choosing the right Minwax wood stain
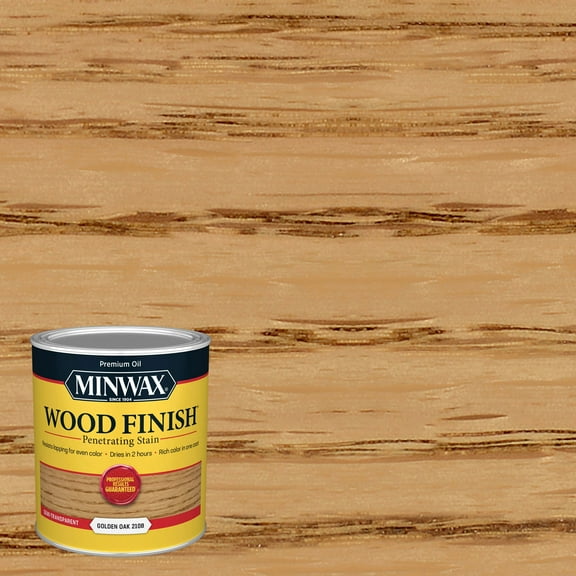
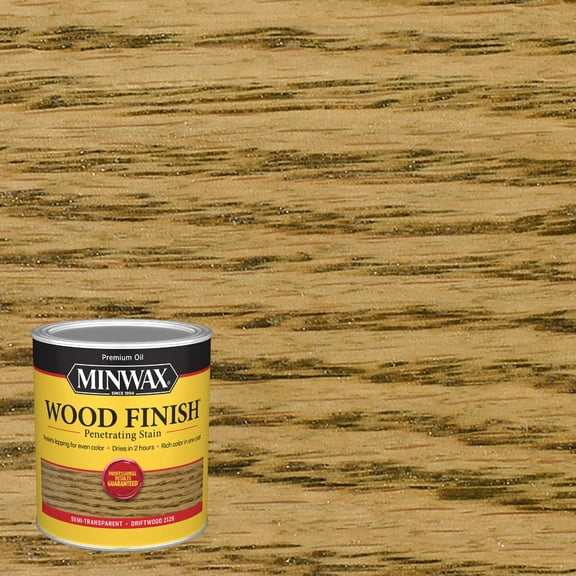
When you pick Minwax wood stain, your wood species matters because grain pattern changes how color settles and shows. If your boards have open grain, you can expect deeper color in visible pores.
With closed-grain woods, your surface may take color more evenly, yet your prep still shapes the final look. If your project uses maple or similar boards, you can compare prep steps for smoother color.
Some woods bring natural color variation that can show through your stain plan. If your boards have tannin bleed or blotchy areas, you can check whether a conditioner fits your process.
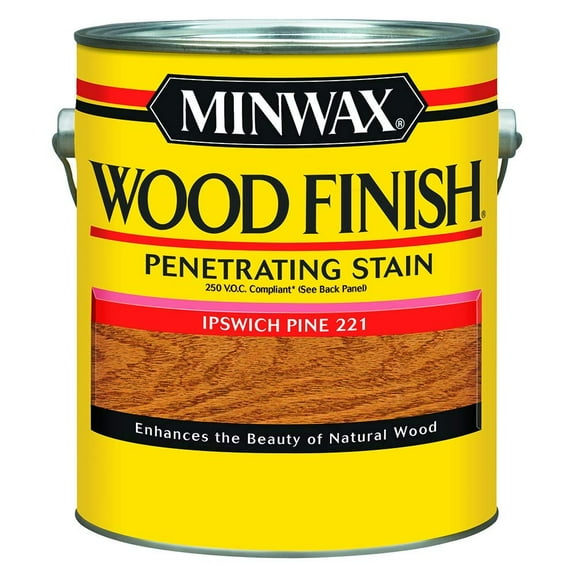
Before staining softwoods, your prep can make a visible difference in how evenly color absorbs. If you're working with pine or fir, you can use wood conditioner before color goes on.
- You can build deeper tone by comparing one coat with added coats on test pieces.
- You can match oil-based, water-based, and gel formulas to cleanup needs and drying pace.
- You can compare stain choices by furniture, cabinets, floors, or exterior deck boards.
- You can plan prep with conditioner before adding a clear coat for wood.
How to compare base type and product category
Base type affects your cleanup routine, drying schedule, and application feel from the first coat. If your project needs longer working time, you may prefer oil-based options for that pace.
Oil-based formulas usually call for mineral spirits during cleanup, and your schedule should allow longer dry times. If your project spans several days, you can build those waits into each finishing step.
Water-based options fit projects where your turnaround matters and your cleanup needs to stay simple. If you want soap-and-water cleanup, you can compare water-based formulas across several finishes.
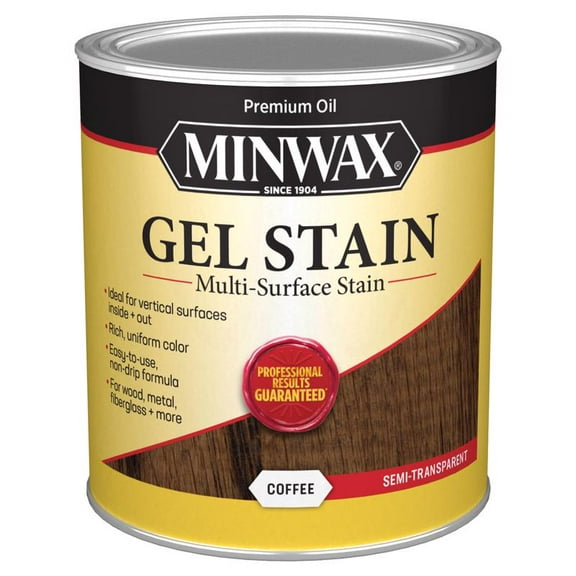
Gel formulas help when your project has vertical parts, edges, or carved details that need more control. If you're updating doors or trim, you can compare that thicker consistency with liquid stains.
Product category matters just as much because each option supports a different stage in your finishing plan. If you need color, prep, or a protective layer, you can sort choices by that role.
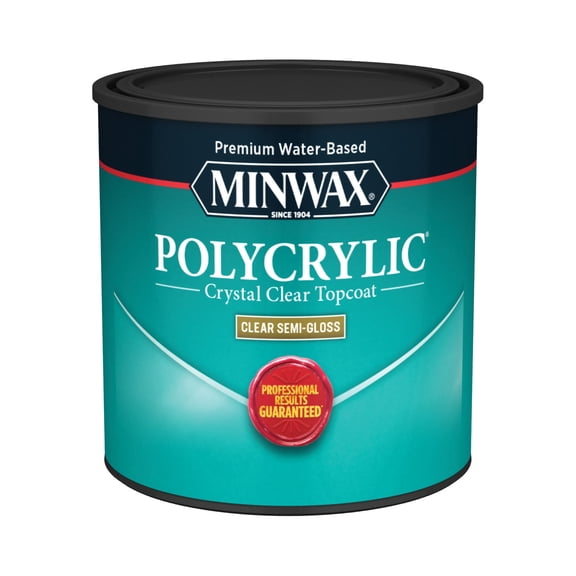
Minwax polyurethane and Minwax polycrylic serve different clear-coat goals on finished wood surfaces. If you want a warm look or a clearer look, you can compare each finish with your project color.
Choosing Minwax polyurethane and Minwax polycrylic
Traffic level should guide your clear finish because different surfaces face different daily contact. If your project is a floor or tabletop, you can compare tougher topcoats for repeated use.
Decorative frames, shelves, and accents usually need a different finish plan than stairs or dining tables. If your piece gets light use, you can focus more on appearance and drying schedule.
Sheen also changes the final look, so your room style should shape that choice early. If you want more light reflection, you can compare gloss and semi-gloss on sample areas.
Satin and matte finishes create a softer look that works well when you want less shine. If your project highlights wood grain, you can use those sheens for a more understated finish.
Coat count matters because your final color depth and surface build depend on how many layers you apply. If you want richer tone, you can test extra stain coats before sealing the surface.
Once your color looks right, a clear coat for wood helps complete the finish schedule. If you're planning around dry times, you can compare recoat windows before starting the first layer.
Matching Minwax choices to your project area
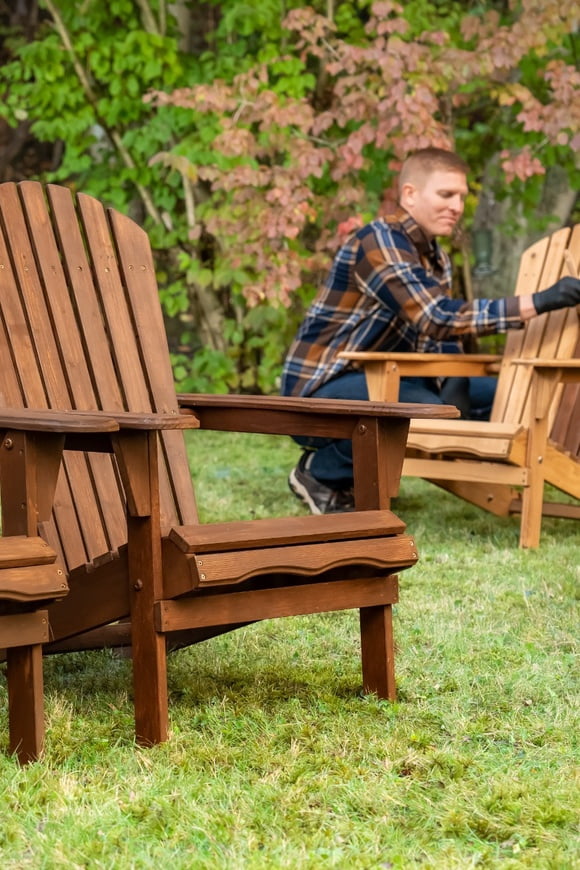
Application area should narrow your options because furniture, cabinets, floors, and decks ask for different finishing routines. If you're updating interior furniture, you can focus on color depth and sheen balance.
Tables, chairs, and shelves often need a finish that shows grain without overpowering the room. If your piece sits in a bright space, you can compare satin and semi-gloss sheens.
Cabinets call for careful choices because your surfaces get frequent touching and changing light through the day. If your kitchen project needs quicker progress, you can compare water-based systems for easier cleanup.
Floors need added attention to traffic level, coat schedule, and final sheen because large surfaces show wear differently. If your room gets steady foot traffic, you can compare durable topcoat options first.
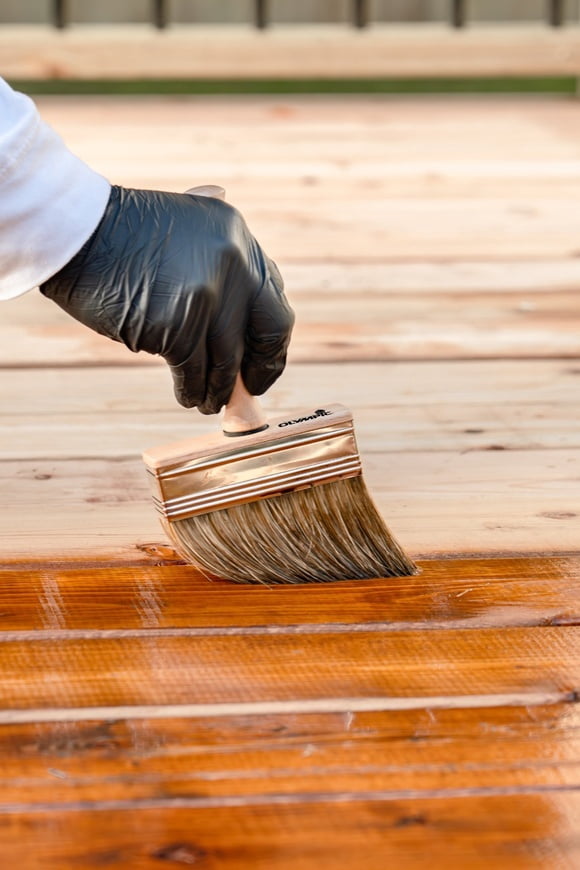
Exterior decks bring another decision because your boards need a formula matched to outdoor wood use. If your project covers wide planks, you can plan prep carefully for more even stain absorption.
When your project combines several steps, your order matters from sanding through the final coat. If you're building a full finish plan, you can sand, condition, stain, and then seal in sequence.
What to look for before you start with Minwax
Before you begin, your project size, wood type, and cleanup preference can narrow the right path quickly. If you measure the surface first, you can estimate coats and supplies with more confidence.
Related tools also shape your results because prep and application affect how smooth the finish looks. If you gather brushes, sandpaper, and wood filler early, you can keep your process more consistent.
With Minwax, you can compare stain, prep, and clear-finish options in a way that fits your wood and schedule. You can expect a more intentional result when each step matches your project from prep through topcoat.