Tile Tools & Materials in Tile


About Tile Tools & Materials in Tile - Walmart.com
Tile tools help you plan cleaner cuts, steadier spacing, and smoother grout lines for wall, floor, and mosaic projects. You can compare tile tools and materials by tool type, project type, and fit with ceramic, porcelain, glass, or stone.
If you're starting a DIY update, you need guidance that matches real installation steps. You can use this overview to compare cutters, trowels, spacers, and floats before you begin.
How to choose tile tools and materials
When you compare tile tools and materials, you should start with the stage of your project. You may need cutting, spreading, spacing, and finishing tools for a complete installation.
For layout and adhesive work, you should check trowel notch size and tile material together. For finishing, you should match your grout float and spacer width to your tile layout.
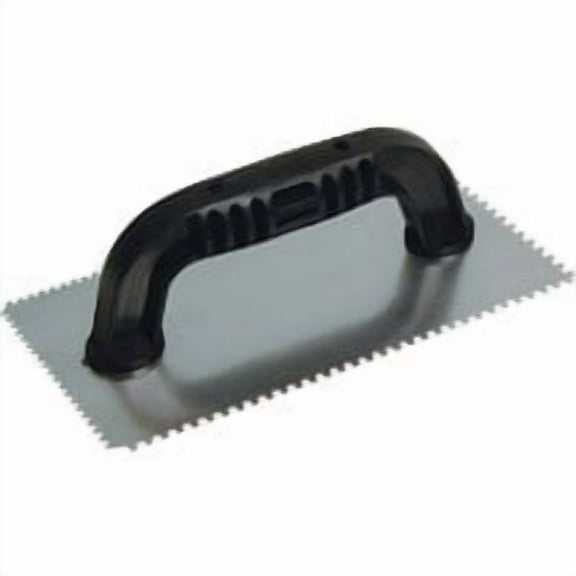
- You can use trowels to spread thinset evenly for stronger coverage under tile.
- You can use tile spacers to guide consistent grout lines across walls, floors, and mosaics.
- You can use floats to press grout into joints and smooth the final surface.
- You can use cutters to size tile pieces for edges, corners, and outlet openings.
You should also think about project type before you choose your tools. Wall tile often needs careful alignment, while floor tile usually needs stronger support and wider coverage.
If you're working with mosaic sheets, you may want smaller spacers and controlled cuts. If you're setting large porcelain pieces, you may want a larger notch for fuller thinset coverage.
Choosing the right tile installation tools
You can narrow tile installation tools by deciding how you'll cut tile first. You may compare manual cutters and wet tile saws by cutting capacity, material type, and edge finish.
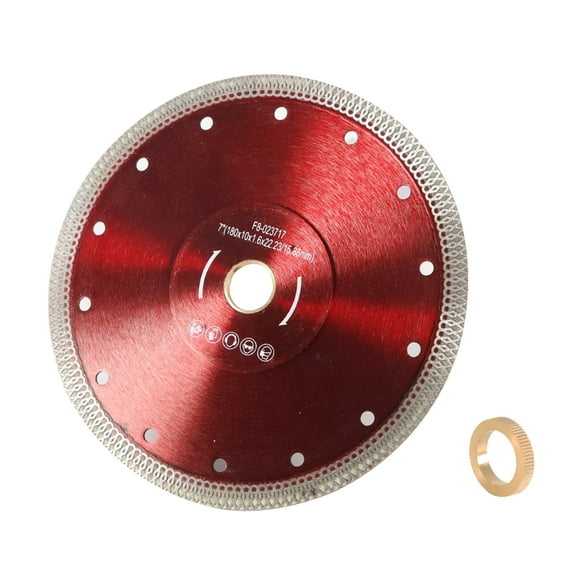
If you're trimming ceramic tile in straight lines, you may prefer a manual cutter. If you're shaping porcelain, stone, or glass, you may want a wet saw with the right blade type.
You should check cutting capacity before you choose a cutter for larger format tile. You can also compare RPM and blade style when you need smoother cuts on dense materials.
For adhesive application, you should compare notch dimensions based on tile size and surface. A 1/4 x 1/4 notch often suits smaller tile, while a 1/2 x 1/2 notch fits larger pieces.
You want the trowel to leave enough thinset for solid contact under each tile. You can think of notch size as the guide for how much adhesive reaches the back.
Spacer width also changes how your finished layout looks once grout fills the joints. You can use 1/16 inch spacers for a tighter look, or 1/8 inch and 3/16 inch widths for more visible lines.
What to look for in tile grout tools
You should include tile grout tools in your plan, not just cutters and trowels. You can use grout floats to press grout into joints and cleanly move material across the tile face.
If you're working on textured tile, you may want to check float firmness and edge shape. You can choose tools that help you guide grout into lines without dragging too much material.
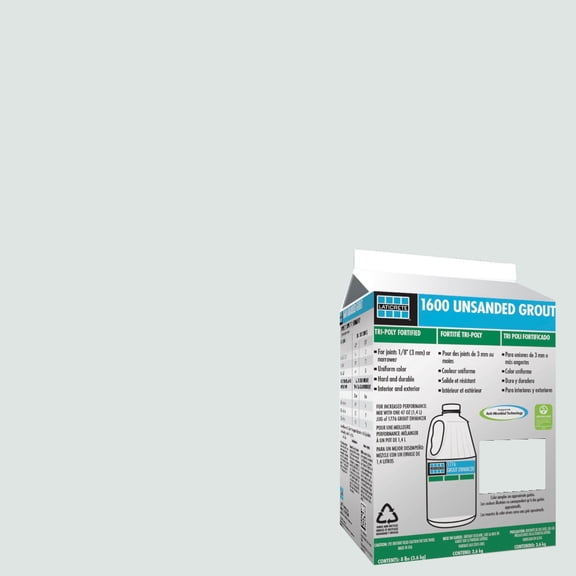
You should also consider the materials that complete the job around your tools. You may need thinset for setting, grout for joints, and sealer when your tile or grout calls for it.
For ceramic tile, you may focus on easy scoring and standard thinset coverage. For porcelain, glass, and stone, you should check compatibility more closely because density and finish can change your setup.
If you're covering a shower wall, you may want precise spacing and careful edge cuts. If you're laying a kitchen floor, you may want wider trowel coverage and durable finishing tools.
Matching tile tools to your project type
You can build a simple project checklist by matching each tool to each step. First, you measure and mark your layout, then you cut pieces, spread thinset, place tile spacers, and finish with grout tools.
For wall tile, you should look for spacing control and manageable cuts around outlets or corners. For floor tile, you should look for steady thinset coverage that supports heavier traffic areas.
If you're installing mosaic tile, you may need finer adjustments because small pieces show uneven spacing quickly. You can use smaller spacer widths and more detailed cuts for tight visual balance.
You should also match tools to the material you're installing. Glass may call for cleaner cutting support, while stone may need tools that handle thicker, denser pieces.
When you compare tile tools, you should think about the finished look you want from the start. You can get straighter grout lines, cleaner edges, and more even coverage by choosing each tool with purpose.
With the right tile tools, you can move from prep to finishing with fewer layout surprises. You can complete your project with cleaner alignment, smoother application, and a more polished result.