


Trail Cameras & Game Cameras for Wildlife Monitoring


About Trail Cameras & Game Cameras for Wildlife Monitoring - Walmart.com
You can use a trail camera to monitor wildlife paths, feeder sites, and property edges without staying on location. You’ll also see options for cellular, Wi-Fi, and SD card setups that match different scouting routines.
If you’re comparing game cameras for woods, fields, or gate areas, you need clear decision points before you choose. You can narrow options quickly when you compare connectivity, flash type, trigger speed, and power source together.
How to choose the right trail camera
You should start by deciding how you want to receive images and how often you visit the camera. You may want the camera to send images directly to your device, or you may prefer a memory card workflow.
When you compare models, you should look at trigger speed and detection zone in the same step. You can get useful captures when those details match your trail width and animal traffic.
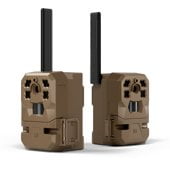
- You can choose cellular models when you want remote image delivery through an app.
- You can choose no glow infrared when you want a less visible setup at night.
- You may prefer low glow when you want added nighttime range across wider openings.
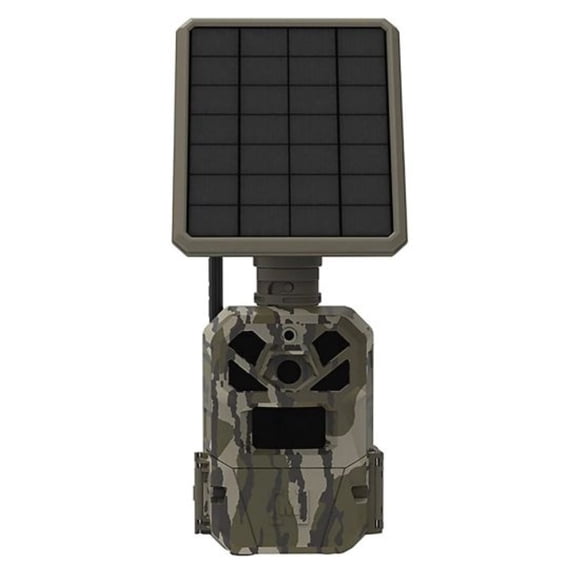
- You can use solar or rechargeable power when your camera stays in remote spots.
- You should check security box compatibility when your mounted camera needs a fitted housing.
You’ll notice each choice affects how often you check the unit and how you review activity. You can also reduce missed movement when your camera placement matches feeder lanes, scrape lines, or fence crossings.
Choosing connectivity for a wildlife camera
You should first compare cellular, Wi-Fi, and non-cellular or SD card options based on your location. You’ll use each setup differently depending on signal access, distance, and how often you pull files.
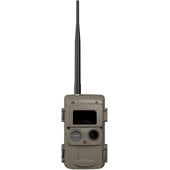
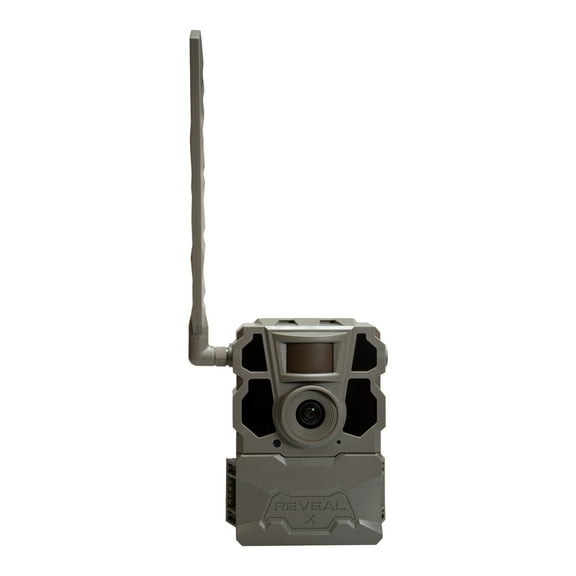
If you choose a cellular wildlife camera, you can have the camera send images directly to your device through an app. You should also compare game cameras that work with US Cellular if that carrier fits your area.
When you review what trail camera works with US Cellular, you should check carrier details on each listing. You’ll want to confirm compatibility before you choose a remote setup or compare trail camera data plans.
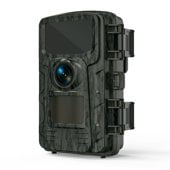
If you prefer Wi-Fi, you can connect when you’re near the camera location. If you choose a non-cellular model, you’ll remove the SD card and review images later.
You should also compare how trail camera data plans fit your routine before you decide. You can look at upload frequency, app access, and account structure so your setup stays practical through the season.
Comparing flash type and motion capture
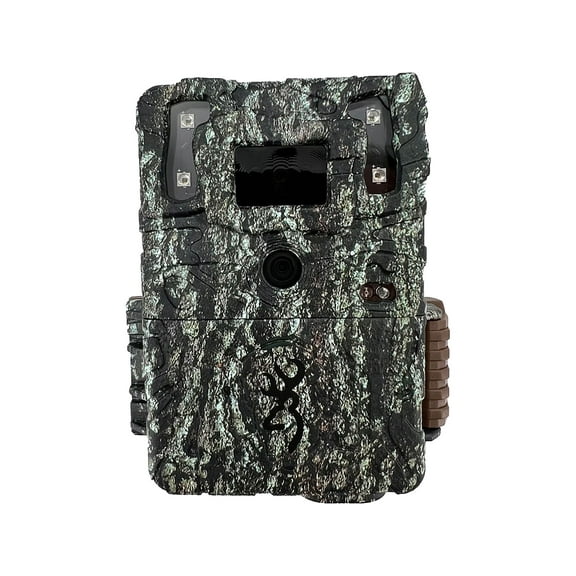
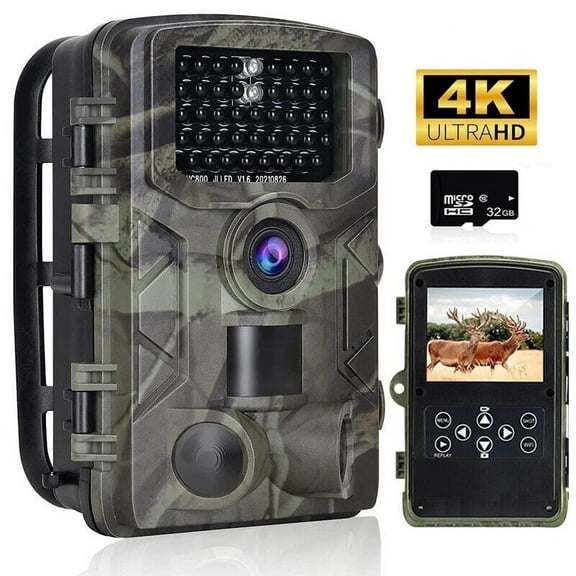
You should compare flash type carefully because night visibility changes how your setup works. You can pick no glow infrared, low glow, or white flash based on your placement and image goals.
If your camera sits near a gate, property line, or cabin approach, you should consider no glow infrared. You can get nighttime capture with less visible flash from the camera.
If you want more range across food plots or wider trails, you may lean toward low glow. You can often use that style in open areas where a small visible glow matters less.
If color images at night matter to your setup, you can look at white flash models. You should place them thoughtfully because the brighter burst changes how the site looks after dark.
You should also compare trigger speed because it affects how quickly your camera reacts to motion. You may want a fast response when deer cross narrow lanes or when movement happens near trail edges.
Detection zone matters because you need the camera to sense movement where animals actually pass. You can improve coverage when you match that zone to feeder areas, scrape lines, and entry points.
Checking power source and compatibility details
You should choose a power source based on how often you can reach the camera location. You can compare battery operated, solar powered, and rechargeable options for different placement styles.
If your camera sits deep in the woods or field, you may want solar support for longer deployment. This can help you cut down on site visits when sunlight and panel fit work together.
Battery operated models can work well when you want a simple setup with quick swaps. You should still compare run time, capture volume, and weather exposure before you decide.
If you’re considering a trail camera alternative for a specific setup, you should still compare power management first. This helps provide steadier performance when your power option matches your image volume and connection method.
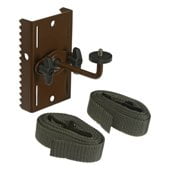
You should also think about mounts, lockboxes, and housing fit during setup. You can check whether a security box matches your camera shape, door clearance, and antenna design.
If you’re researching a Moultrie Edge 2 security box or similar fit, you should verify compatibility on the item page. This helps you avoid setup friction when your lockbox and camera body align correctly.
Using trail cameras in the field
You can use trail cameras for scouting deer movement, checking feeder timing, and watching back-lot access points. You may also use them for food plots, fence lines, creek crossings, and wooded trails.
When you’re setting up a trail cam for property awareness, you should weigh flash visibility, signal strength, and power life together. This can help you achieve a clean setup that fits your exact placement.
If you’re comparing brand ecosystems, you should focus on app tools, accessories, and compatibility details that fit your routine. You can also confirm GPS support on the listing instead of assuming the manufacturer includes these features.
You can make a confident choice when you compare connectivity, flash behavior, trigger response, and power support in one view. You’ll end up with a trail camera that fits your terrain, schedule, and monitoring style.